Daily movement
Pelvic Clock
Explore subtle pelvic movements to release tension and improve spinal articulation.
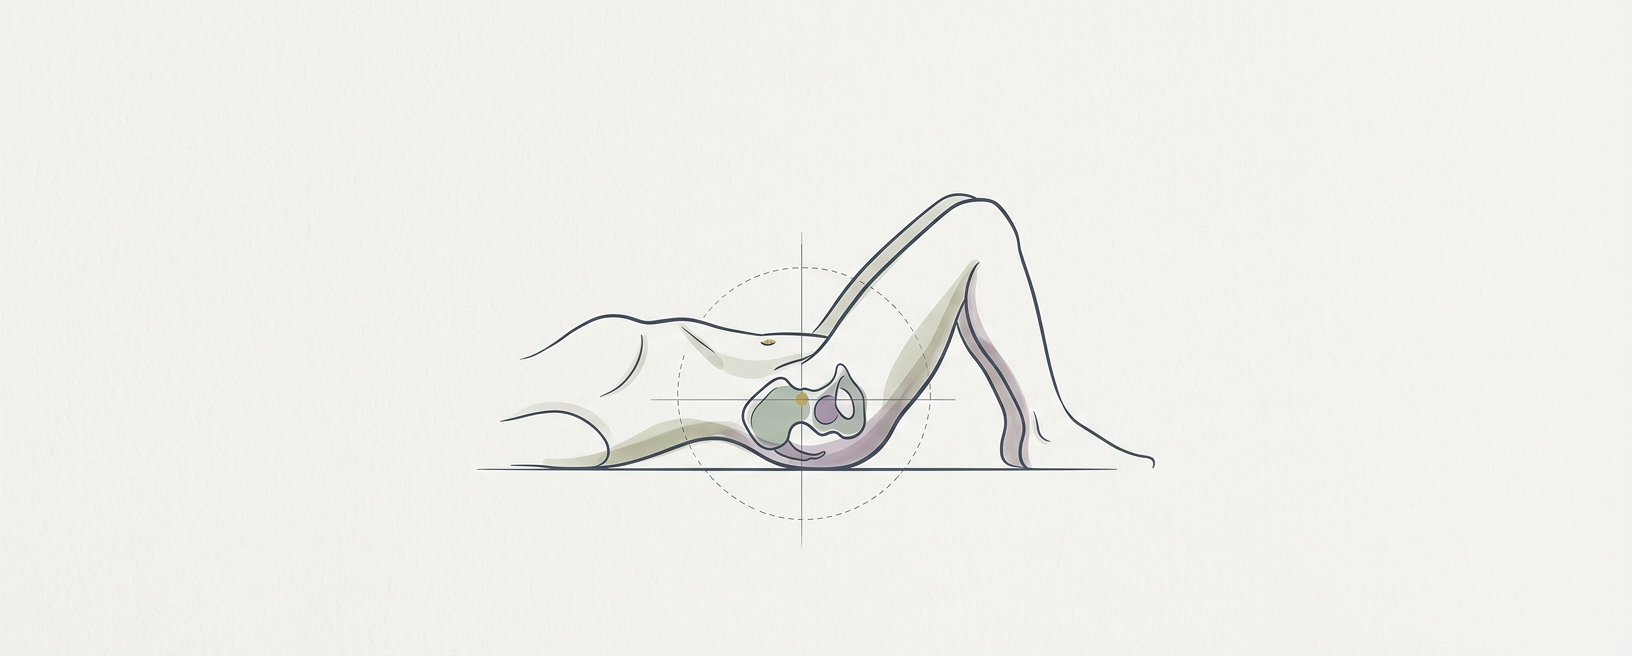
Explore subtle pelvic movements to release tension and improve spinal articulation.
Feldenkrais Method · Developed by Moshé Feldenkrais, this movement is a fundamental Awareness Through Movement (ATM) lesson. · This movement addresses states of chronic low back tension, limited spinal mobility, and a generalized sense of physical rigidity. It cultivates an internal awareness of the pelvis as the foundation of spinal movement, leading to improved posture and reduced discomfort. · Perform for 5-10 minutes. Can be practiced daily or whenever tension is felt in the lower back. The key is quality of attention over quantity of movement.
Why it works
The Feldenkrais Method operates on the principle of neuroplasticity. By performing slow, small, and intentional movements, the nervous system receives novel sensory information. The Pelvic Clock specifically differentiates movement within the lumbar spine and sacrum. This re-educates motor patterns, reducing habitual muscle guarding and improving proprioception. The gentle oscillations stimulate synovial fluid production in spinal joints and mobilize myofascial tissues around the pelvis and lower back, promoting tissue hydration and flexibility.
How to practice
Preparation: Lie on your back with knees bent, feet flat on the floor, hip-width apart. Ensure your lower back maintains its natural curve, not pressed flat nor excessively arched. Your arms can rest comfortably by your sides. Close your eyes if comfortable, and bring your attention to the contact points of your body with the floor.
Locate the Clock: Imagine a clock face laid flat on your lower abdomen, centered on your navel. "12 o'clock" is towards your head, "6 o'clock" towards your feet, "3 o'clock" towards your right hip, and "9 o'clock" towards your left hip.
Initiate Movement (12 to 6): Gently tilt your pelvis so that your pubic bone moves slightly towards your navel (flattening your lower back slightly towards the floor) – this is "12 o'clock". Then, reverse the tilt, allowing your tailbone to lengthen towards your heels, subtly arching your lower back away from the floor – this is "6 o'clock". Move very slowly, noticing the subtle engagement of abdominal and back muscles. Do not force or strain. The movement should be barely perceptible to an observer.
Initiate Movement (3 to 9): Return to a neutral pelvic position. Now, gently tilt your pelvis to the right, allowing your right hip bone to move subtly towards your right shoulder – this is "3 o'clock". Then, reverse the tilt, moving your left hip bone subtly towards your left shoulder – this is "9 o'clock". Again, move with extreme slowness and minimal effort. Notice the differential pressure on your right and left glutes.
Circle the Clock: Combine these movements into a smooth, continuous circle, tracing the perimeter of your imaginary clock face. Explore both clockwise and counter-clockwise directions. Pay attention to areas of stickiness or ease. Make the circles as small and smooth as possible, allowing your head and shoulders to remain still. Let your breathing remain fluid and unforced.
Rest and Observe: After several minutes of circling, return to stillness. Notice any changes in sensation in your pelvis, lower back, and even your breathing. Compare the feeling of your body against the floor to how it felt at the beginning of the practice.
Preparation: Lie on your back with knees bent, feet flat on the floor, hip-width apart. Ensure your lower back maintains its natural curve, not pressed flat nor excessively arched. Your arms can rest comfortably by your sides. Close your eyes if comfortable, and bring your attention to the contact points of your body with the floor.
Locate the Clock: Imagine a clock face laid flat on your lower abdomen, centered on your navel. "12 o'clock" is towards your head, "6 o'clock" towards your feet, "3 o'clock" towards your right hip, and "9 o'clock" towards your left hip.
Initiate Movement (12 to 6): Gently tilt your pelvis so that your pubic bone moves slightly towards your navel (flattening your lower back slightly towards the floor) – this is "12 o'clock". Then, reverse the tilt, allowing your tailbone to lengthen towards your heels, subtly arching your lower back away from the floor – this is "6 o'clock". Move very slowly, noticing the subtle engagement of abdominal and back muscles. Do not force or strain. The movement should be barely perceptible to an observer.
Initiate Movement (3 to 9): Return to a neutral pelvic position. Now, gently tilt your pelvis to the right, allowing your right hip bone to move subtly towards your right shoulder – this is "3 o'clock". Then, reverse the tilt, moving your left hip bone subtly towards your left shoulder – this is "9 o'clock". Again, move with extreme slowness and minimal effort. Notice the differential pressure on your right and left glutes.
Circle the Clock: Combine these movements into a smooth, continuous circle, tracing the perimeter of your imaginary clock face. Explore both clockwise and counter-clockwise directions. Pay attention to areas of stickiness or ease. Make the circles as small and smooth as possible, allowing your head and shoulders to remain still. Let your breathing remain fluid and unforced.
Rest and Observe: After several minutes of circling, return to stillness. Notice any changes in sensation in your pelvis, lower back, and even your breathing. Compare the feeling of your body against the floor to how it felt at the beginning of the practice.