Daily movement
Controlled Articular Rotation of the Neck
Access and expand the full, active range of motion in your cervical spine.
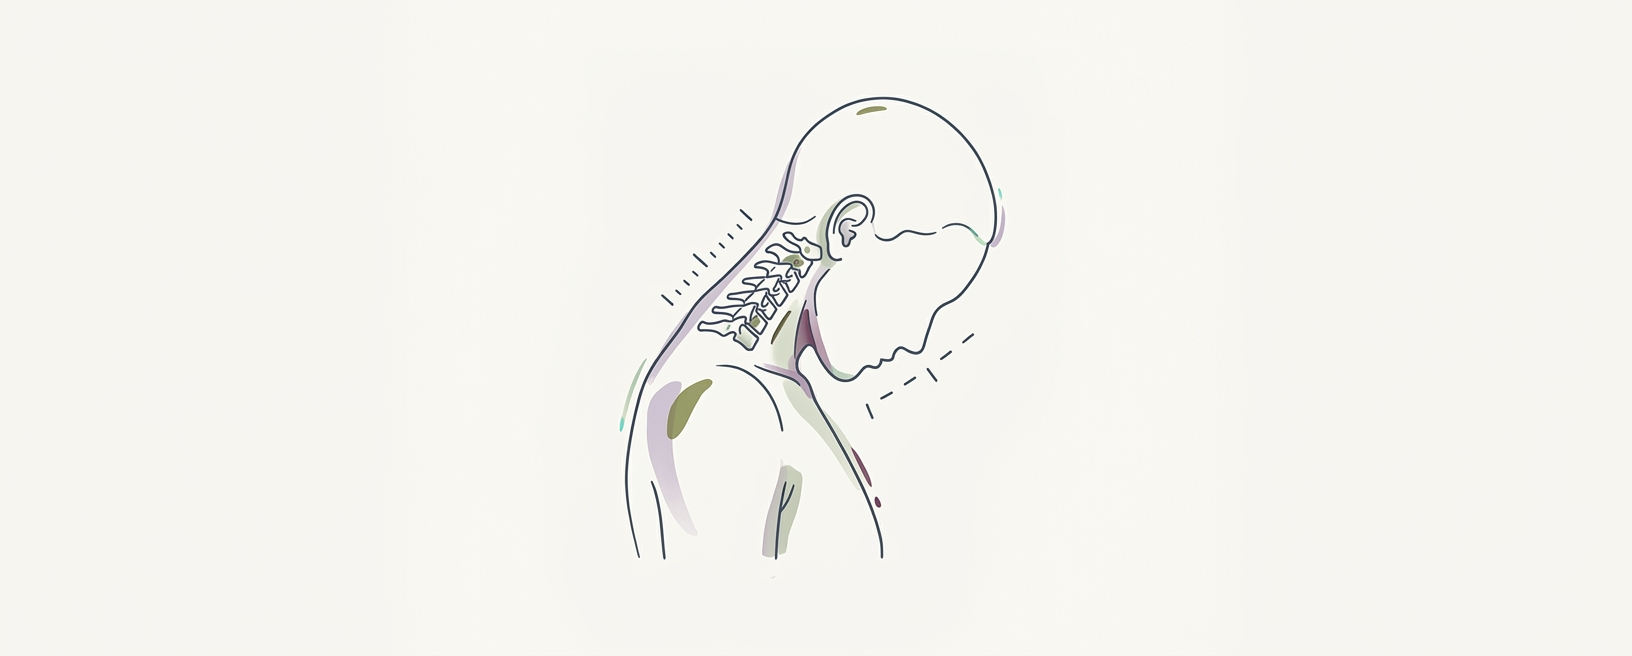
Access and expand the full, active range of motion in your cervical spine.
mobility / joint CARs · Functional Range Conditioning (Dr. Andreo Spina) · This movement meets the felt state of a "stuck" or restricted neck, often contributing to tension headaches or shoulder stiffness, and helps reduce protective guarding. · 1-2 cycles per side, 30-60 seconds per cycle.
Why it works
The nervous system mechanism centers on actively communicating with joint mechanoreceptors. By slowly moving through the entire available range of motion, you're informing the brain about the joint's current capacity and actively expanding its neurological control. This reduces protective tone in surrounding muscles, allowing for greater freedom. On the tissue level, CARs apply tension to the joint capsule and the various fascial layers surrounding the cervical spine. This consistent, controlled loading helps to maintain elasticity and hydration within these tissues, preventing adhesions and improving joint health over time. The active contraction throughout the movement also improves blood flow to the joint structures, facilitating nutrient delivery and waste removal. It's about earning your range, not just borrowing it.
How to practice
Setup: Sit or stand tall with a neutral spine. Gently draw your chin down and back to create a "double chin" without forcing your head forward. Place a hand on your chest, and the other on your abdomen. I like to imagine my sternum is fixed.
Slow Chin Tuck: With your eyes focused straight ahead, slowly tuck your chin further towards your chest, as if trying to touch it to your sternum. This isn't just nodding; think about articulating each vertebra in your neck. Exhale as you tuck.
Ear to Shoulder: From the deepest chin tuck, slowly roll your right ear towards your right shoulder, keeping your chin tucked. Feel the stretch along the left side of your neck. Inhale deeply here.
Extension and Rotate: Gently extend your head back as if looking up, continuing the circular motion towards your right shoulder. You're making a large, slow circle. Imagine a pencil on the top of your head drawing a perfect circle on the ceiling. Exhale as you extend.
Ear to Other Shoulder: Continue the rotation, bringing your left ear towards your left shoulder, keeping your head extended back. Inhale.
Return to Start: Finally, complete the circle by tucking your chin back towards your chest, returning to the starting position. Exhale.
Reverse: Repeat steps 2-6 in the opposite direction. Always maintain tension throughout the movement.